Winterizing Windows in Canada Before the Cold Sets In
A practical checklist for preparing Canadian windows for winter, from sealing drafts and checking hardware to storm windows and seasonal maintenance.
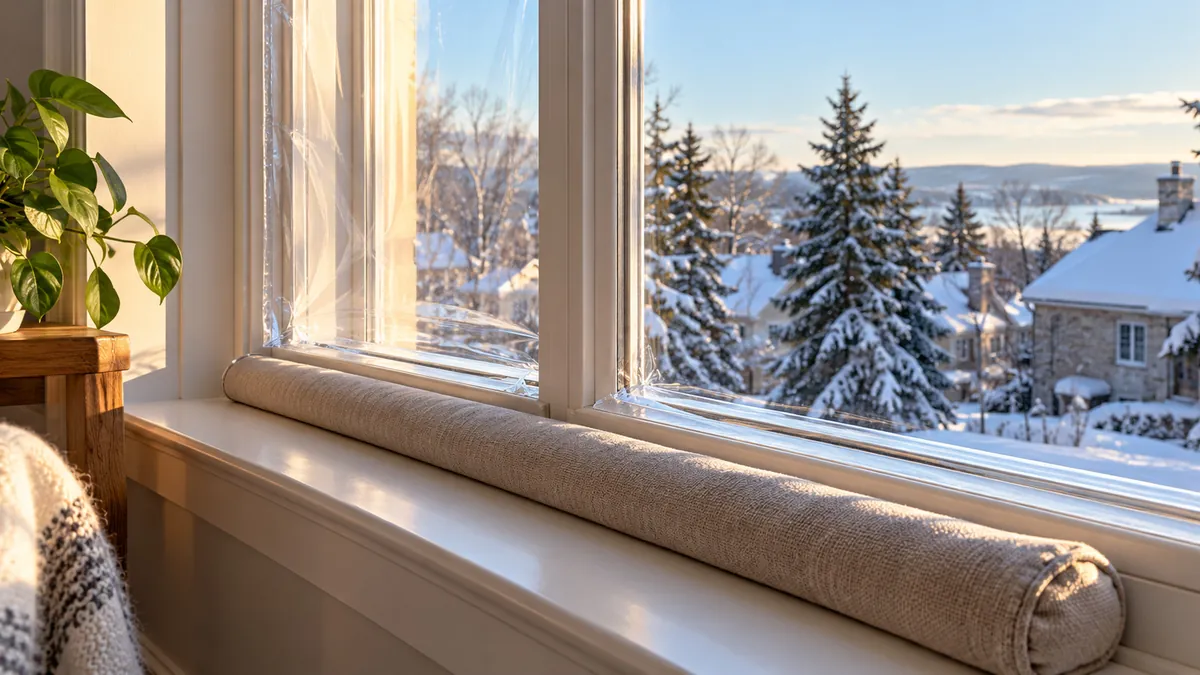
Canadian winters test every part of a window. Cold air, wind-driven snow, ice, and freeze-thaw cycles put pressure on seals, hardware, and frames. A window that seemed fine in autumn can draft, stick, or leak by February if it was not prepared.
Winterizing windows is not about making them airtight to the point of damage. It is about checking the points where winter enters, drafts, seals, tracks, and drainage, and fixing small issues before they become expensive repairs.
This guide walks through a practical autumn checklist, the repairs worth doing before the first freeze, and what to watch for through the season. It is written for Canadian homes, where winter lasts months and a small gap can mean real heating cost and comfort loss.
Why Autumn Is the Right Time
Windows should be winterized before temperatures drop consistently below freezing. Sealants cure poorly in cold weather, caulk becomes stiff and hard to apply, and exterior work becomes unpleasant or unsafe once snow and ice arrive.
A few hours of work in October or November can prevent:
- Drafts that make rooms uncomfortable all winter.
- Water tracking into frames and walls during melt cycles.
- Hardware that seizes when cold.
- Condensation that damages sills and trim.
- Emergency repairs in the middle of a cold snap.
The Autumn Window Checklist
Work through each operable window before the cold sets in:
- Open and close every window. Note any sticking, grinding, or uneven movement.
- Lock and unlock each window. Check that the latch lines up without force.
- Feel for drafts on a windy day. Run your hand around the frame, sash edges, lock, and sill.
- Inspect weatherstripping. Look for flattened, cracked, torn, or missing strips.
- Check exterior sealant. Look for cracks, gaps, or separation where the frame meets the wall.
- Clear tracks and drainage slots. Remove leaves, dirt, and debris from slider tracks and weep holes.
- Inspect the sill and lower frame. Look for staining, softness, or bubbling paint that indicates water entry.
- Test storm windows or secondary glazing. Make sure they close tightly and seal at the edges.
- Check screens. Remove, clean, repair, and store them before snow.
- Lubricate hardware. Apply a manufacturer-recommended lubricant to cranks, hinges, and locks.
Write down any problems you find. A short list makes a contractor visit more productive and helps you prioritize repairs.
Sealing Drafts Before Winter
Start by locating the source of the air movement; the drafty window guide covers checks around the sash, frame and surrounding wall.
Drafts are the most noticeable winter window problem. They also drive up heating costs and create cold spots near the floor.
Check these areas:
- Weatherstripping on the sash: Replace strips that are compressed, cracked, or pulled away.
- Frame-to-wall seal: Re-caulk small exterior gaps with a product suitable for cold-weather application, or schedule the work before temperatures fall too low.
- Lock and latch area: A door or window that does not close fully cannot seal. Adjust hardware so the sash pulls tight against the frame.
- Bottom rail and sill: Check for gaps where cold air enters at the lowest point.
Temporary measures such as window film can improve comfort for a season, but they are not a substitute for fixing failed seals or misaligned sashes. Use film as a stopgap while you plan permanent repairs.
Tracks, Drainage, and Weep Holes
Sliding windows and patio doors rely on tracks and drainage to manage meltwater and condensation. Blocked tracks cause several winter problems:
- Dirt and debris prevent the sash from seating tightly, creating drafts.
- Blocked weep holes trap water in the frame, which freezes and expands, damaging seals and hardware.
- Ice buildup in the track makes the window hard to open and can bend the track over time.
Vacuum tracks thoroughly. Clear drainage slots with a soft brush or compressed air. Check that water can exit the frame rather than pooling inside.
Hardware and Moving Parts
Cold weather makes metal contract and lubricants thicken. Hardware that is stiff in autumn may be frozen in January.
- Clean crank handles, hinges, and locks of dirt and old lubricant.
- Apply a silicone-based or manufacturer-recommended lubricant to moving parts.
- Test that cranks turn smoothly and locks engage fully.
- Tighten loose screws on hinges and lock plates.
- Check that sash locks pull the window closed evenly.
Do not force a crank or handle that feels stiff. That usually means a mechanical problem that needs inspection, not extra strength.
Storm Windows and Secondary Glazing
Homes with older single-pane windows often use storm windows or interior secondary glazing for winter. These add an insulating air gap and protect the primary window from weather.
Before winter:
- Check that storm windows fit securely and seal around the edges.
- Inspect storm window glass for cracks or loose putty.
- Verify that storm window hardware operates.
- Clean the gap between the storm window and the primary window so moisture does not get trapped.
If your primary windows are double or triple glazed and in good condition, storm windows are usually unnecessary. They are most valuable on older units that cannot be economically replaced.
What Not to Do When Winterizing
- Do not seal a window shut so it cannot be opened in an emergency.
- Do not apply interior caulk over wet wood or active leaks. The moisture will be trapped and cause rot.
- Do not use pressure washers on windows before winter. High water pressure can damage seals and force water into the frame.
- Do not ignore a window that is difficult to close. A poor seal in autumn becomes a major draft in January.
- Do not apply new sealant when temperatures are below the product's recommended minimum. It will not cure properly.
Regional Winter Differences
Canadian winters vary widely, and winterization should match your region:
- Atlantic Canada: Wind-driven rain and salt air test exterior seals. Focus on flashing, sealant, and hardware corrosion.
- Quebec and Ontario: Deep freezes and wide temperature swings stress sealed units and frame movement. Check balance and hardware operation.
- The Prairies: Extreme cold and dry air make any gap obvious. Prioritize weatherstripping and air sealing.
- British Columbia coastal: Mild but wet winters mean moisture management matters more than extreme cold sealing.
- Northern communities: Long, severe winters make storm windows and thorough sealing essential. Repair seasons are short, so act early.
Signs You Should Call a Professional Before Winter
Arrange an assessment if:
- A window will not close or lock fully.
- You see rot, soft wood, or staining around the frame.
- Water enters during rain or melt cycles.
- Drafts persist after replacing weatherstripping.
- A window is hard to operate and the frame may have shifted.
- Multiple windows show the same problem, suggesting a systemic issue.
Fixing these problems before the ground freezes is easier, faster, and usually less expensive than emergency winter repairs.
What to Photograph Before You Call
Photos help a contractor understand the scope:
- Each window with a problem, inside and outside.
- Draft locations, marked with tape or noted by date and weather.
- Weatherstripping condition, close up.
- Exterior sealant lines and any cracks.
- Window sills and lower corners, inside and out.
- Tracks and drainage slots, including debris.
- Any condensation, staining, or mold near the window.
Take photos in daylight and include one wide shot per window so close-ups make sense.
Maintenance Through the Season
Winterization does not end in November:
- Wipe condensation from sills regularly so water does not sit on wood.
- Keep tracks clear of snow, ice, and salt tracked indoors.
- Check that windows close fully after storms, when frames may shift slightly.
- Watch for new drafts after cold snaps.
- Clear exterior snow and ice away from window wells and lower frames.
- Do not chip ice off window glass or frames with sharp tools.
Frequently Asked Questions
Should I cover my windows with plastic for winter?
Window film can improve comfort temporarily, but it is not a repair. Fix failed seals and misalignment first, then use film as a supplement if needed.
When should I winterize my windows?
Aim for October or early November, before consistent freezing temperatures and before sealants become difficult to apply.
Can I caulk windows in cold weather?
Only with products rated for low-temperature application. Most standard exterior caulk needs temperatures above 5 to 10 degrees Celsius to cure properly.
Will winterizing stop all condensation?
No. Interior humidity and ventilation drive condensation. Winterizing reduces drafts and cold spots but does not replace humidity control.
Should I remove screens for winter?
Yes, in most of Canada. Storing screens protects them from snow and ice and allows better sealing around the window.
How often should I check weatherstripping?
At least once a year, ideally in autumn before winter and again in spring after the cold season.
Winterization Cost Expectations
Treat any figure you see online as a planning range rather than a quote. The cost of winterizing depends on the condition of each window and the work required.
As a general planning guide:
- Weatherstripping replacement: usually the lowest-cost option, because the materials are modest and the work is limited.
- Exterior sealant and caulking: a moderate cost, depending on how many windows and how much old sealant must be removed.
- Hardware lubrication and adjustment: a modest cost, often included with a service call.
- Storm window repair or installation: a higher cost, because it includes a new unit and fitting.
- Frame or sill repair: variable, and can rise if hidden rot is found once the trim is opened.
- Multiple windows: the per-window cost may drop when several are winterized in one visit, because setup and travel are shared.
Ask for a written quote that separates materials, labour, and any frame work. A contractor who quotes a lump sum without inspecting each window may be missing rot or alignment issues.
Working With Your Contractor on Winterization
A good contractor will:
- Inspect each window and frame before recommending work.
- Identify whether drafts come from weatherstripping, frame gaps, or alignment.
- Check exterior sealant and flashing, not just the interior.
- Test that each window closes and locks fully after the work.
- Explain whether a window is a candidate for winterizing or needs repair or replacement instead.
If a contractor suggests replacing every window because of winter drafts without checking seals and alignment first, get a second opinion. Many drafts can be fixed for a fraction of replacement cost.
Winterization Quick Reference
- Check every operable window before consistent freezing weather.
- Replace flattened, cracked, or torn weatherstripping.
- Clear tracks and weep holes of leaves and debris.
- Re-caulk small exterior gaps before temperatures fall too low.
- Lubricate cranks, hinges, and locks with a manufacturer-recommended product.
- Test that each window closes and locks fully after the work.
- Remove and store screens before winter in harsh-weather regions.
- Wipe condensation from sills so water does not sit on wood.
Can I winterize windows myself?
Yes. Cleaning tracks, replacing weatherstripping, and checking sealant are manageable for many homeowners. Leave frame rot, alignment, and upper-floor work to a professional.
Does winterizing reduce heating bills?
It can reduce drafts and improve comfort, which may lower heating costs. The savings depend on how leaky the windows were and how well the work is done.
Next Steps
Windoorly can inspect your windows, replace weatherstripping, adjust hardware, and recommend repairs before winter arrives. Send photos of your windows and a description of any drafts or sticking, and we will help you plan the work.